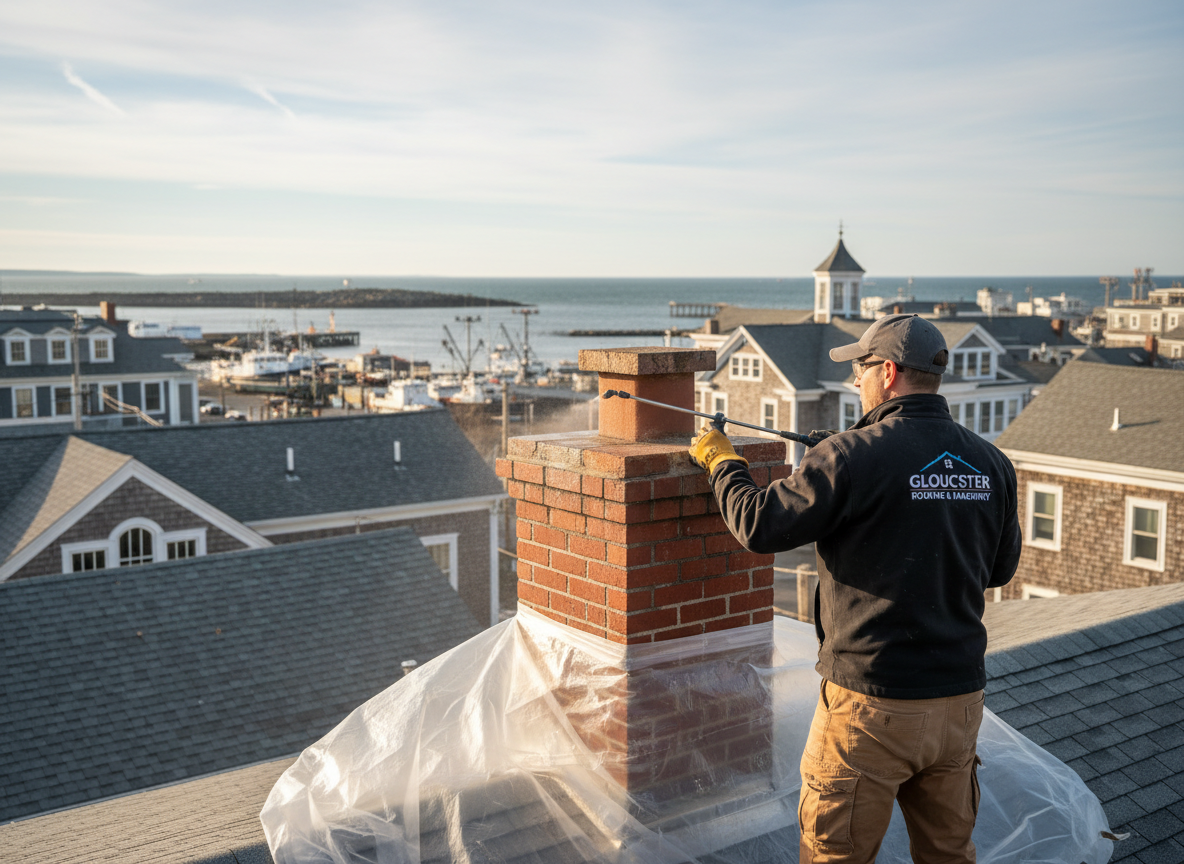
Gloucester City chimneys on pre-1960 brick homes often face moisture drive from Delaware River humidity that pushes through porous mortar joints and crown cracks. Standard silicone sprays fail here because they do not address the capillary action inside the flue tile and the back side of the brick. Proper waterproofing starts with a low-pressure wash to remove efflorescence, followed by a breathable silane-siloxane penetrant that bonds inside the masonry rather than forming a surface film that will peel after one freeze-thaw cycle.
Flashing integration is the most common edge case on Gloucester row homes. When the step flashing has been covered by later roofing layers or has corroded at the chimney base, water tracks behind the waterproofing and into the attic. We cut out the rotted step flashing, install new copper or stainless step and counter flashing tied into the existing roofing, then seal the top edge with a compatible elastomeric caulk before applying the masonry treatment. This sequence prevents the recurring leak that appears only after heavy spring rains.
Homeowners frequently mistake interior ceiling stains for a roofing problem when the actual source is failed crown mortar or missing rain cap. In Gloucester’s older stock, many chimneys still have original clay flue tile that has shifted, creating gaps above the smoke chamber. We install a stainless-steel rain cap with a built-in spark arrestor and then apply a reinforced crown coating that expands and contracts with temperature swings, eliminating the open joint that lets water run straight down the flue.
Technician insight
In Gloucester, the thing that catches most people out with chimney waterproofing is the hidden gap between the clay flue tile and the brick on homes built before 1950 along the river; water follows that gap straight into the attic even after the crown looks sealed from the outside.
Recurring Attic Leak on Powell Street
Water stains appeared after spring storms on a 1940s brick row home. We found the crown mortar had eroded and step flashing had pulled away at the rear. New copper flashing was installed, the crown was rebuilt with reinforced coating, and two coats of penetrant were applied to the brick. No further moisture reached the attic after the next heavy rain.
How it works
- 1
Site Inspection
We examine the crown, flue, flashing, and brick joints from the roof and attic to locate active water paths.
- 2
Preparation
Loose mortar and efflorescence are removed, damaged flashing is replaced, and the surface is cleaned for sealer adhesion.
- 3
Waterproofing Application
Breathable silane-siloxane penetrant is applied to masonry; crown and flashing receive elastomeric coating.
- 4
Final Check
We verify water shedding with a controlled hose test and confirm no new moisture reaches the attic.
Pricing
Upfront quote after inspection; cost driven by chimney height, flashing condition, and number of coats required.